Connecting External Solar Panels (Upgrade from RoamRig)
In most cases, we use the Victron SmartSolar MPPT solar charger. After that upgrade is complete, you can use MANY different solar panels. Here is our guidance for choosing a setup that’s perfect for how you use your van.
This upgrade began Spring 2026, is exclusive to RoamRig HQ in Connecticut, and is NOT related to RoamRig power system upgrades. Unsure if you have the upgraded controller? Check your RoamRig invoice for “Victron MPPT for portable solar panels.”
What Solar Panels Can I Use?
There are countless portable solar panels available online, take your pick! Please order what works for your needs.
If you're running more than one panel, connect them in series using short MC4 extension cables between panels. Series wiring increases voltage, which is actually what you want — higher voltage means lower current, and lower current means less energy lost over the cable run. Watch this video from EcoFlow for more information.
Voltage & Wattage: What's Safe
- Wattage exceeds the controller's rating? That’s fine. The controller will simply draw what it needs.
- Do not exceed 100V open circuit voltage, which is found on the spec sheet for the solar panels. If you have multiple panels in series, add up the open circuit voltages. If you have multiple panels in parallel (not recommended, less efficient), then the open circuit voltage will remain the same as a single panel.
- ALWAYS use identical panels in series connections!
Accessories Needed
1. Adapter to connect your solar panels to the upgraded controller. This is the key piece that bridges your panels to the SAE port on the upgraded solar controller in the van.
Almost all panels have MC4 connectors, so you can search "MC4 SAE adapter" online — they come in multiple lengths, so pick what works for your setup. Polarity is critical here: on the SAE side of the adapter (which plugs into the van), the red wire on the adapter must be on the female side. The MC4 connectors on the other side of the cable will connect to your solar panels.
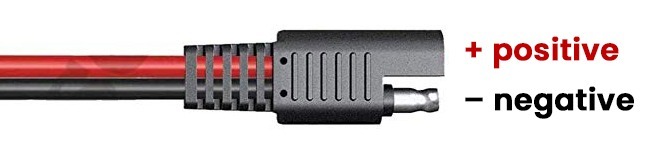
SAE Connector (note the positive is the female side of the plug) - plugs into the van
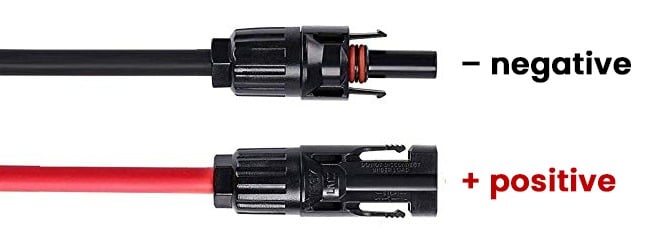
MC4 Connectors - plug into your portable solar panels. MC4 is by far the most common solar panel connector, but not universal. If your panels use something else, search "SAE to [your connector type] adapter" — adapters exist for virtually every common format.
2. MC4 Extension Cables: If your panels are set up away from the van, then you'll need extension cables to reach from them to the solar controller in the van. Order the length that will be appropriate for your setup. We recommend 8-gauge cable. Cables that come in a protective sheath will be much easier to coil and store.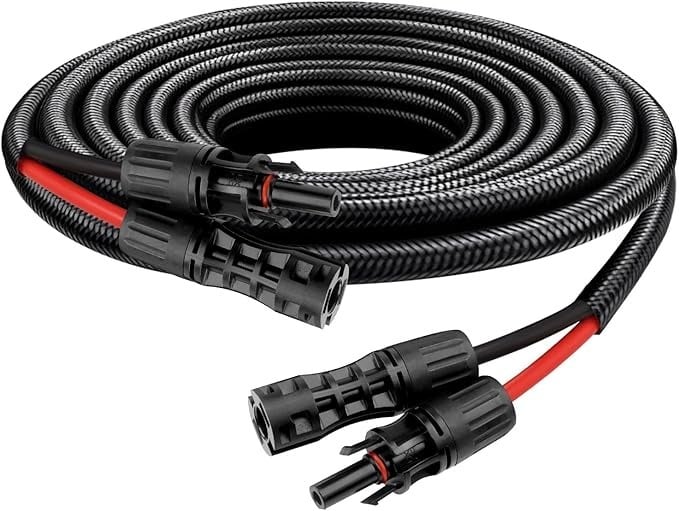
3. MC4 Disconnect Tool: You'll need one of these to connect and disconnect the MC4 connectors. We prefer the tool style with tabs that stick out from the body of the tool itself because they make both connecting and disconnecting easier. Check out ~0:52 in this video to see how they’re used. 